
In This Issue:
- Cover – Oil & Gas Sector UT Kits
- News – BAQ GmbH Hardness Testing – Upgrades
- Special – Request Your Price on Flaw Test Kits.
- Application – Hardness testing – The UCI method
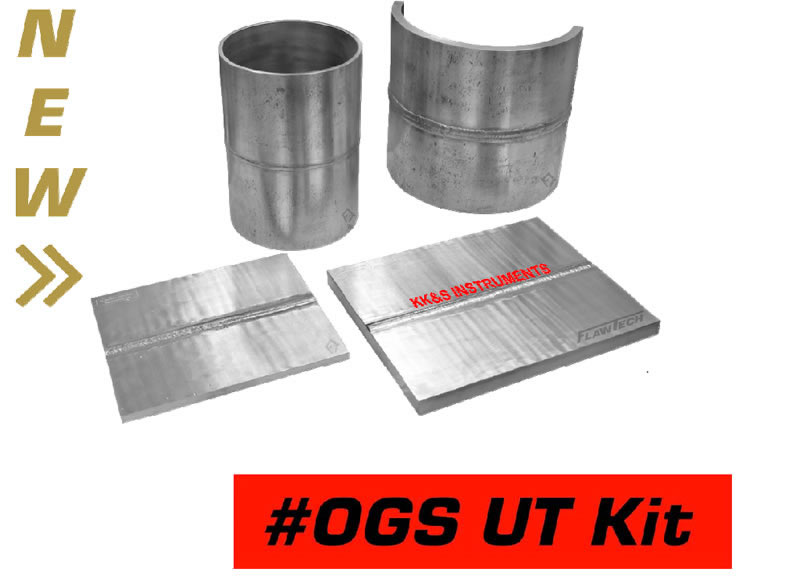
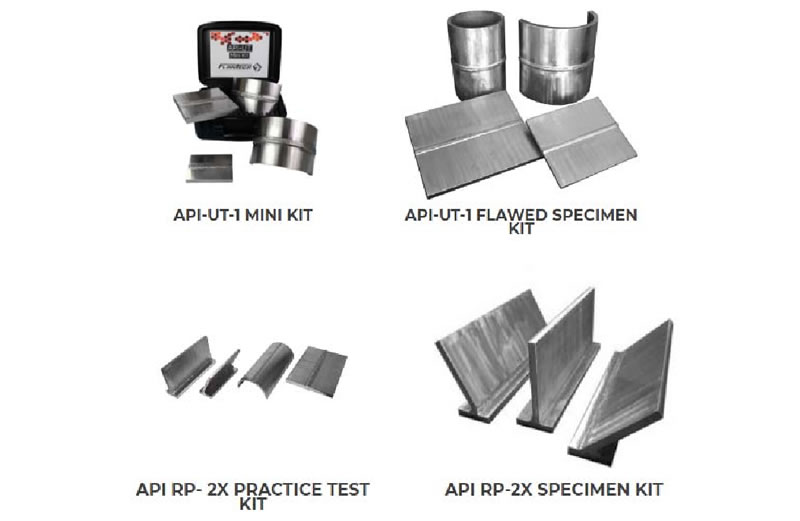
New UT Training & Testing Flawed Specimen Kit is the premier preparation for API QUTE
– Detection, QUSE – Sizing and the ASNT ISQ Oil & Gas Sector Shear Wave exams.
This New kit was designed & manufactured to emulate the API & ASNT OGUTSW4 Rev 00 Protocols.
The Kit assists in the training & testing of UT Technicians for both Conventional & PAUT.
Description
For UT Examination of Ferritic Welds
API-UT-1 Kit Contains:
- Material: Carbon Steel
- Kit contains 4 Specimens:
- (1) Plate: 1.0″ Thick Plate w/ Double Vee (1″ x 12″ x 15″)
- (1) Plate: 0.5″ Thick Plate w/ Single Vee (0.5″ x 10″ x 12″)
- (1) Pipe: 8″ Sch80 (0.5″ Wall x 12″, 360°)
- (1) Pipe: 12″ Sch80 (0.688″ Wall x 12″, 180° Seg.)
- Flaws: Total of 12 flaws. Flaws are randomly placed ~2-4 each specimen.
- Flaw Tolerance: +/-0.080″
- Documentation Package Includes: Certificate of Conformance, CAD Drawings and Test Sheets
- Weight: ~225 lbs
- Please note special shipping considerations apply due to weight.
API KIT CUSTOM OPTIONS
- 10% ID / OD Calibration Notches
- 0.75″ x 4.5 x 6″ ASME Sec. V Basic Calibration Block
- Locking Storage Container
- Radiographs
FLAW TYPES
- Lack of Penetration
- Centre Line Crack
- Slag Inclusion
- Lack of Fusion
- Root Crack
- Porosity
- Misalignment
- Excess Penetration
New probe housings:
The housings of our UCI probes are now made of stainless steel and are therefore even sturdier as before. Besides the coloured ring for a quick test load identification, are now the serial numbers engraved on the upper housing part.
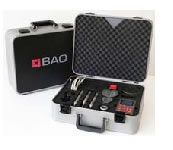
New tool cases:
For the UCI hardness tester’s alphaDUR mini and alphaDUR II.
The new cases are sturdy and offer a lot of space for the accessories.
Manuals in several languages are now found as a pdf-file on the included USB flash drive.
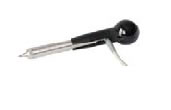
Handle for UCI probes:
We have developed a new probe handle. It is much easier to apply the needed test load through the ball knob. From now on all new probes with a test load of 98 N (10 kg) will be delivered with this free handle.
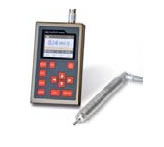
Conversion to ASTM E140: With the UCI hardness testers, the hardness values can now be converted to the standards DIN EN ISO 18265 and ASTM E140.Depending on the selected table, the measured values can be displayed in Vickers, Brinell, Rockwell (HRC, HRB, HRA, HRD, HRE, HRF), Super Rockwell, Knoop or tensile strength.
Serial measurements: Serial measurements can now be programmed for repeated measuring tasks. The measuring results are saved serially numbered under a name you have chosen and can then be exported as an individual or total protocol.
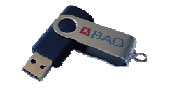
Direct data transfer to flash drive: This option is now available as standard on new UCI alphaDUR II and alphaDUR mini hardness testers, like it is already for the Leeb hardness tester dynaROCK II. The firmware can, of course, be upgraded on older devices.
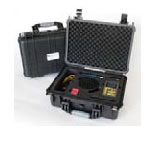
New tool case: for the BAQ Leeb hardness tester dynaROCK II. The dynaROCK II is often used in a harsh environments, so the case needs to be adequate. In this new Plastic Hard Case a test block type G or D and the instrument can be stowed snugly.
Request Your Price NOW!
On the API-UT & API-RP Kits,
Including the New API-UT-1 Flawed Kit
The UCI method (Ultrasonic Contact Impedance) has been successfully used in hardness testing now for many years. The probes of the alphaDUR II or alphaDUR mini and the Hardness scanner UT200 work according to this method.
A rod is excited into a longitudinal oscillation. At the tip of the rod, a Vickers diamond is placed. This diamond is pressed to the specimen with a discrete test load. Mostly the test load F is applied through a spring. The rod oscillates with its self-resonant frequency which depends essentially on its length. When the Vickers diamond penetrates the specimen, the oscillation of the rod is damped.
This causes a shift Δf of the resonance frequency, which can be measured.
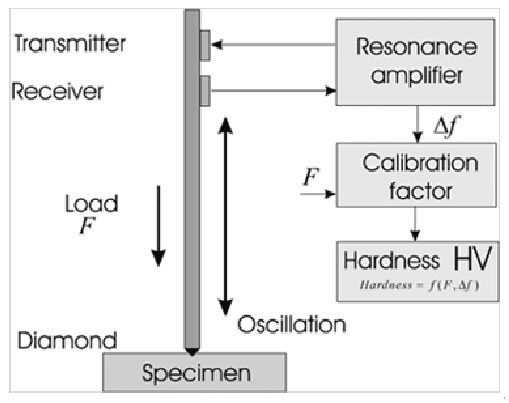
The damping of the rod and the resulting shift in resonance frequency depends on the size of the area of contact between the diamond and the specimen and therewith on the hardness of the material if the test load is constant. Beneath the hardness, the elastic modulus of the material also affects the frequency shift.
The hardness of the material can be calculated from the known test load, the measured frequency shift and the material calibration factor (for taking the elastic modulus into account). The advantages of the UCI method are the ease of automation and the very good reproducibility of the hardness readings. The reproducibility of the measurements is better than with optical methods of hardness testing because the total area of contact (proportional to d2) enters into the measurement and not only the diagonal d or a diameter. Moreover the measurement results are independent from the subjective view of a single examiner and the test is very quickly performed.
For carbon steel and low alloyed steel, hardness reference samples are used for purpose of calibration. The low variation of the elastic modulus of this group of materials can be neglected. For defining the necessary testload of the UCI-Probe in accordance to the hardness of the samples and the desired intendation diagonals or penetration depth please use the Diagram Penetration depth.
The layer thickness (or depth of the hardening) should be 10 times higher than the penetration depth.


