
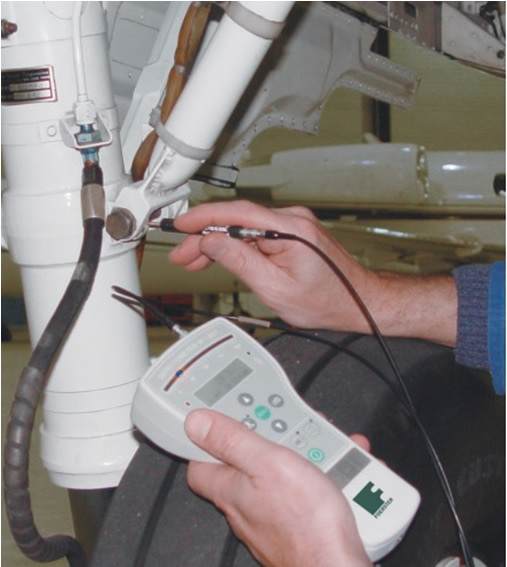
- FOERSTER GERMANY – Defectometer 1.837 Aerospace Eddy Current Instrument.
- Coming soon to FOERSTER – Universal Eddy Current Instrument for the aviation sector – 3 Instruments in 1
- FOERSTER GERMANY – Quality control of aluminium alloys by measuring conductivity
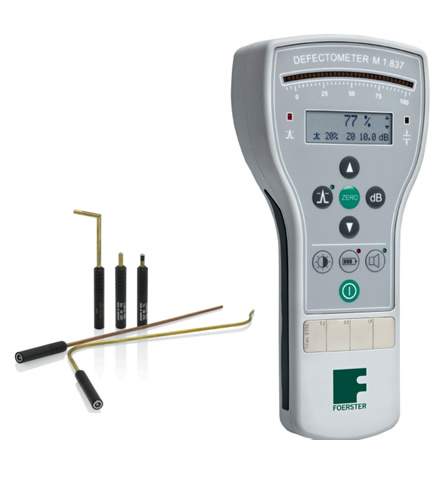
Compact mobile crack test device for the Aircraft Industry
The DEFECTOMETER M 1.837 is ideally suited for all situations requiring mobile crack testing. The device has a defect resolution starting from just 20 µm and numerous automatic functions. The LED scale reading and LCD display ensure good legibility even in broad daylight or complete darkness. The long operating life of 35 hours and USB port make it a perfect companion for manual crack and hardness testing and the separation of materials.
Your advantages at a glance
▪ Ergonomic design for easy one hand operation
▪ High sensitivity with a defect resolution of 20 µm
▪ Automatic lift-off, zero and tilt compensation
▪ LED and acoustic warning for lifted off probe
▪ High Visibility LED scale display and LCD display
▪ USB port for test viewing & documentation of results
▪ 35-hour operation with activated backlighting
▪ Use of five probes for all materials
▪ Integrated calibration standard
DEFECTOMETER special Probes
The respective probe elements are available as a shielded and unshielded version. The shielding reduces the expansion of the magnetic field, so testing closer to material edges is possible. The five different probe elements can be used in a wide variety of probe shapes. The probe form can be adapted individually to the customer’s requirement.
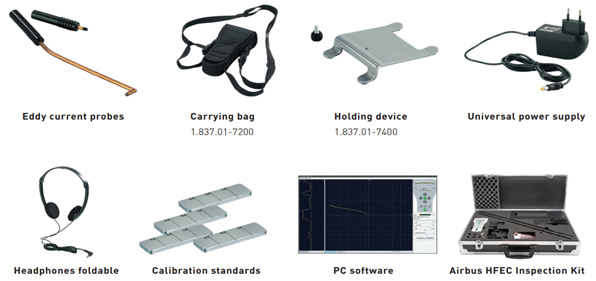
For frequent applications, test kits are available to guarantee a simple and, above all, safe procedure.
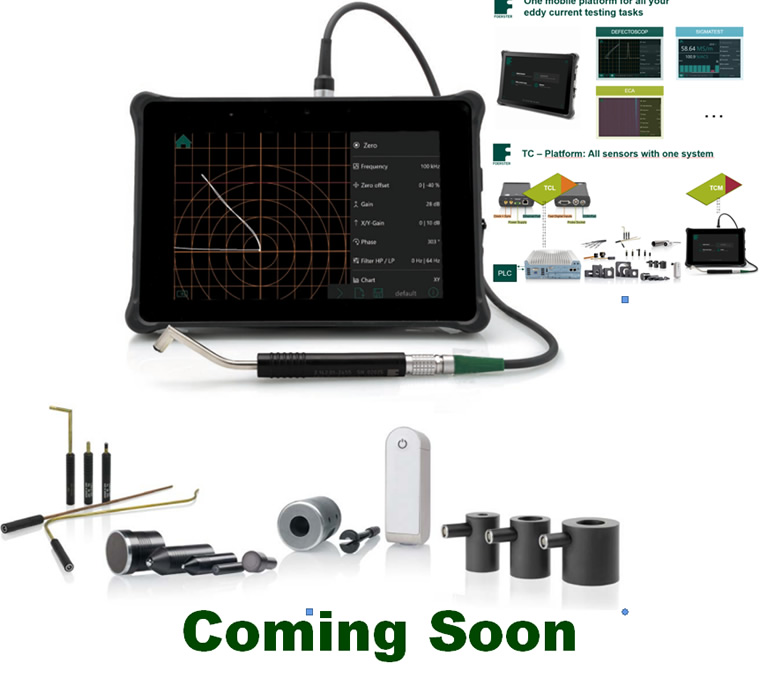
- 3 Instruments in One TCM 2.142 – DEFECTOSCOP, ECA, SIGMATEST
- Connect a wide variety of sensors, such as; Parametric, Transformatoric or Bridge probes
- Optimized for AVIATION: Crack detection, Residual wall inspection, Weld inspection, Borehole inspection
- Eddy current array, up to 512 probe elements parallel, (Coming Soon)

Quality control of aluminium alloys by measuring conductivity
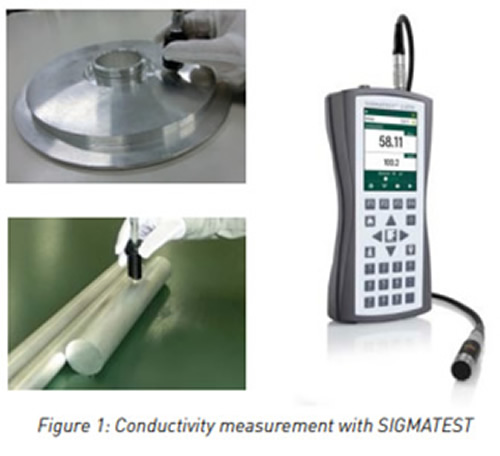
FOERSTER’s SIGMATEST 2.070 eddy current conductivity measurement device is compact, lightweight, and portable. This makes it easy for anyone to perform measurements and results are independent of the operators skills. Just apply the probe to the material being tested, and the measured value is displayed and logged on the device. It is a highly reliable measuring instrument with a temperature compensation function.
Contact KK&S Instruments for more details.
Aluminium alloys with various properties are produced by adding additive elements such as magnesium, copper, silicon, zinc, and manganese to aluminium with a purity of 99% or higher. Aluminium alloys have the following advantages: they are lightweight yet strong, can be heat-treated to increase strength, can be cast into various shapes, can be cold-worked for high formability, are highly corrosion resistant, have high thermal conductivity, and are non-magnetic. Taking advantage of these characteristics, it is widely used in parts for aircraft and automobiles.
There are two types of aluminium alloys: non-heat-treatment type and heat-treatment type. Heat-treatable types, in particular, are heat-treated to ensure hardness, which varies with the passage of time after heat treatment. This is called age hardening or precipitation hardening. Precipitation is a phenomenon in which an element dissolved in the matrix phase is formed into another solid phase as the temperature changes. The hardness varies depending on the state of this precipitation.
In the past, mechanical hardness test devices have been used for hardness control at production sites. However, although precipitation state and microstructural changes accompanying heat treatment can be evaluated by microscopic observation, non-destructive testing cannot be carried out on site. Furthermore, it is difficult to evaluate changes in microstructure and crystal structure, such as heat treatment strain and residual stress, using these tests.
On the other hand, since the flow of electricity is generated by the movement of electrons around atoms, the ease of electric flow varies depending on the atomic arrangement and crystal structure.
Measuring conductivity allows us to evaluate not only the state of age-hardening but also the state of microstructure. Conductivity can also be measured using the four-terminal method, but this is not simple and is not suitable for the field.


