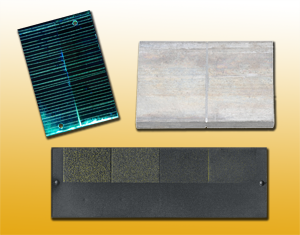
The test block no. 2 according to EN ISO 3452-3 is used for regular performance checking of dye penetrants and fluorescent penetrants in opened, partially used containers
and stationary testing systems.
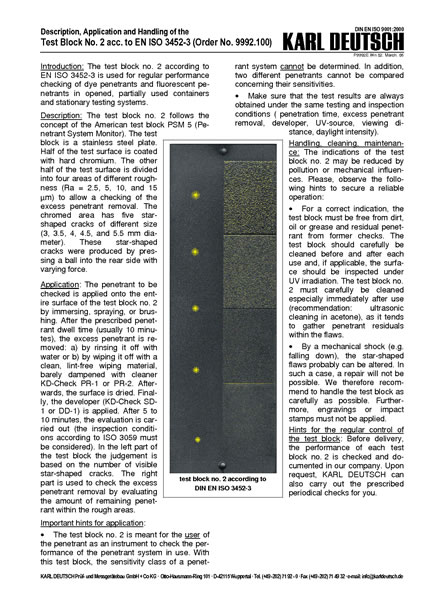
Description: The test block no. 2 follows the concept of the American test block PSM 5 (Penetrant System Monitor). The test block is a stainless steel plate. Half of the test surface is coated with hard chromium. The other half of the test surface is divided into four areas of different roughness (Ra = 2.5, 5, 10, and 15 mm) to allow a checking of the excess penetrant removal. The chromed area has five star shaped cracks of different size (3, 3.5, 4, 4.5, and 5.5 mm diameter). These star-shaped cracks were produced by pressing a ball into the rear side with varying force.
Reference Test Panel 1
According to DIN EN ISO 3452-3 (JIS reference block) there are four different crack depths:
Reference Test Panel 1, Crack Depth 10 µm(order no.: 9991.010)
Reference Test Panel 1, Crack Depth 20 µm(order no.: 9991.020)
Reference Test Panel 1, Crack Depth 30 µm(order no.: 9991.030)
Reference Test Panel 1, Crack depth 50 µm(order no.: 9991.050)
Aluminium Test Block
According to ASME V and DIN EN ISO 3452-5 and -6:
Aluminium Test Block(order no.: 9994.100)


